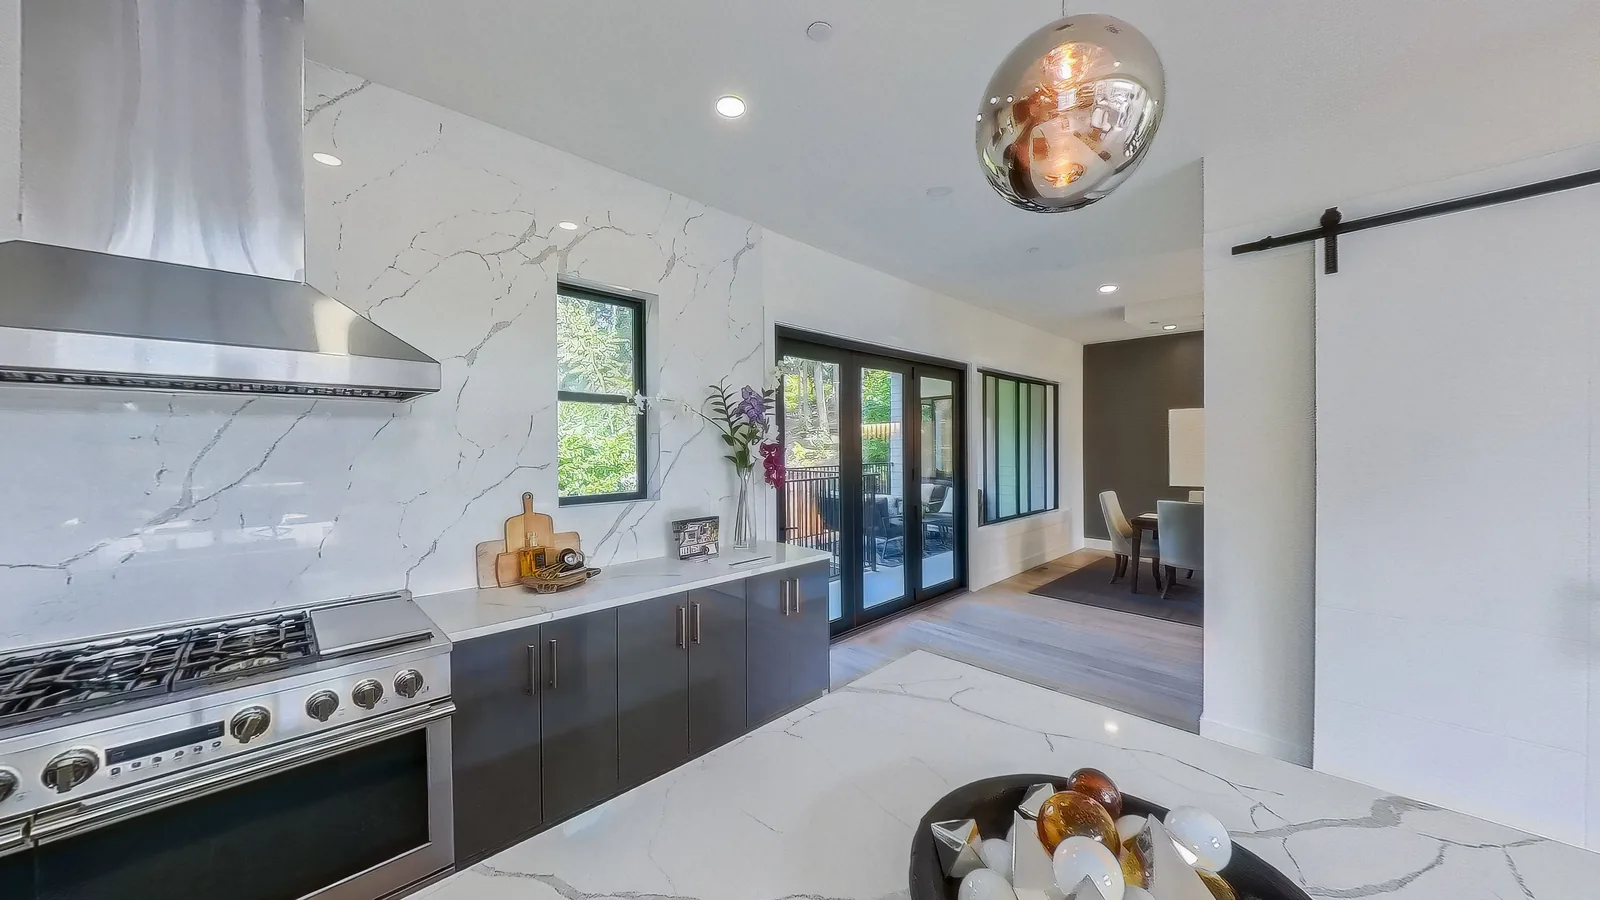
Family Bathroom Weekend Refresh Ideas
A practical step-by-step guide to family bathroom weekend refresh ideas, including preparation, instructions, common issues, tips, and next steps.

Family Bathroom Weekend Refresh Ideas
Transform your family bathroom over a single weekend with a focused refresh that balances style, safety, and practicality. This guide covers decluttering, deep cleaning, updating fixtures, adding storage, and creating a relaxing yet durable space that works for everyone—from toddlers to teens. You'll learn how to prioritize tasks, choose low-maintenance materials, and make smart upgrades that boost both function and enjoyment without a full remodel.
Fast Answer
- Start by decluttering surfaces and drawers, then deep clean every surface to create a fresh canvas for quick updates like new shower curtains, towels, and a mirror frame.
- Focus on high-impact, low-effort changes: replace old caulk and grout, upgrade fixtures like faucets and drawer pulls, and add smart storage solutions to reduce daily clutter.
Before You Start
- Set aside a full weekend (or two half-days) and gather basic tools: screwdriver, putty knife, grout cleaner, caulk gun, cleaning supplies, and a sturdy step stool.
- Take 'before' photos and make a checklist of every surface you'll touch: walls, floor, vanity, shower, tub, toilet, mirror, and fixtures. This keeps you on track.
- Shop ahead for materials you'll likely need: fresh caulk (bathroom-grade), grout cleaner or pen, paint-safe tape, new shower curtain liner, towel hooks, and drawer organizers.
- Clear the bathroom completely—remove towels, toiletries, decor, and bath mats. This gives you unobstructed access and prevents cleaning products from getting ruined.
Step-by-Step Instructions
Declutter and Sort Everything Out
Pull everything from cabinets, drawers, the vanity, and any shelves. Sort items into keep, toss, and relocate piles. Be honest about what your family truly uses: expired medicines, old makeup, half-empty bottles, and broken accessories have no place here. Wipe down each item’s container before putting it back. Group like items—hair care, dental, first aid, cleaning supplies—and store them in bins or trays. This step not only frees up space but also makes your morning routine faster because you can see what you have. A good check: if you haven’t used something in six months, it probably can go. Once you’ve decluttered, you’ll have a clearer idea of what storage solutions you need. This is the foundation for every other improvement, so take your time.
Deep Clean All Surfaces and Grout
Now that the bathroom is empty, do a thorough deep clean. Start at the top: wipe down ceiling corners, exhaust fan grille, and light fixtures. Then scrub walls, tiles, and the tub/shower with a non-abrasive cleaner suitable for your surfaces. Pay special attention to grout lines—use a grout brush or an old toothbrush with a baking soda paste. For stubborn stains, apply a grout cleaner and let it sit before scrubbing. Rinse everything well and dry with a microfiber cloth. Don’t forget behind the toilet and under the sink. Check the caulk around the tub and sink; if it’s moldy or peeling, note that for later. A spotless bathroom not only feels better but also helps new caulk and paint adhere properly. After cleaning, dispose of any used sponges and replace them with fresh ones.
Repair and Refresh Caulk and Grout
Inspect the caulk lines around the tub, shower, and sink, and the grout between tiles. Remove old, cracked, or moldy caulk with a caulk remover tool and putty knife. Clean the area thoroughly, let it dry completely, then apply new bathroom-grade silicone caulk. Smooth it with a wet finger or a caulking tool. For grout that’s discolored or chipped, use a grout pen or regrout the affected areas. This is a small task that makes a huge visual difference, and it prevents water from seeping behind tiles, which could cause structural damage later. You don’t need to be a pro—just work in small sections and keep a damp rag handy. After you finish, wait the manufacturer’s recommended curing time before using the shower. This step instantly makes your bathroom look cleaner and more polished.
Upgrade Fixtures and Hardware
Replacing small fixtures can change the entire look of your bathroom without a huge cost. Swap out the faucet if it’s dated or leaking, and update the showerhead to a water-saving model if you want. Replace drawer pulls and cabinet knobs with something modern and durable. Also consider upgrading the toilet seat, towel bars, and toilet paper holder—choose finishes that match your faucet, like brushed nickel or matte black. Make sure to turn off the water supply before changing plumbing fixtures, and have a towel and bucket ready for residual water. Check the measurements twice to ensure a proper fit. These changes are typically easy with basic tools and instructions from the manufacturer. A cohesive finish instantly lifts the room’s style, and new hardware is more hygienic because older ones can harbor grime.
Add Smart Storage and Organization
After decluttering, you might still need extra storage. Add a slim over-the-toilet shelving unit, a medicine cabinet with mirrored doors, or a rust-proof wire rack for towels. Inside the vanity, install pull-out trays or sturdy plastic bins to keep items separated. On the back of the door, hang an over-door organizer for hair tools or toiletries. For smaller items, use clear acrylic containers and drawer dividers so everything has a home. Place a small caddy under the sink for cleaning supplies, and a magnetic strip on the wall for bobby pins and tweezers. Assign each family member a colored bin or towel hook to reduce arguments. When everything has a place, cleanup becomes a five-minute task, and your fresh space stays that way longer.
Style with Linens, Decor, and Lighting
Finally, add the finishing touches that make your bathroom feel fresh and inviting. Choose a new shower curtain and liner (if you have a tub/shower), and coordinate towels that are both plush and quick-drying. Roll towels and stack them on a shelf or basket for a spa-like look. Add a non-slip bath mat, maybe a small plant that thrives in humidity, and swap out old lighting fixtures or bulbs with brighter, warmer LED ones. Use a color palette that feels calm—soft blues, greens, or neutrals. Consider adding a framed mirror or new window treatment for softness. Make sure all fabrics are machine washable for easy care. After this final step, give the room a quick once-over: check that everything is secure, nothing is peeling, and the space looks unified. Now stand back and enjoy your refreshed family bathroom.
Quick Reference
| Situation | Action | Why it helps |
|---|---|---|
| Finding mold or mildew in the grout and caulk | Clean with a baking soda and vinegar paste, then apply a grout pen for minor stains. For recurring mold, remove old caulk and re-caulk with a mold-resistant silicone. | Ignoring mold can lead to respiratory irritation and structural damage; fresh caulk seals surfaces and prevents water intrusion. |
| Feeling overwhelmed by a lack of storage | Install an over-the-toilet shelf and use under-sink bins, drawer dividers, and adhesive hooks on the back of the door. | Adding vertical storage and zones gives every item a designated place, reducing clutter and making cleaning easier. |
| Updating fixtures on a tight budget | Focus on swapping the toilet seat, cabinet handles, and towel bars; these are quick and inexpensive changes. | These touches are visible daily and change the room’s look without the cost of new plumbing or large fixtures. |
Common Issues
- Water spots and soap scum on glass shower doors: Use a squeegee after every shower, and weekly clean with a distilled white vinegar and water solution. For stubborn buildup, scrub with a non-abrasive sponge.
- Sticky or slow-to-close drawers and cabinets: Remove drawer and clean the tracks, then apply a silicone spray. If the doors rub, tighten the hinges or adjust the alignment; replace worn-out springs or slides as needed.
- Foul odor coming from the drain: Pour a mixture of baking soda and vinegar down the drain, wait 15 minutes, then flush with hot water. Clean or replace the sink stopper and remove debris from the drain trap.
Advanced Tips
- Install a water-saving, high-pressure showerhead that reduces waste without sacrificing spray power—check flow rate ratings for your home.
- Use anti-fog mirror film or a heated mirror pad to prevent condensation, keeping mirrors clear after showers.
- Replace old exhaust fan with a quiet model that has a humidity sensor, automatically turning on when needed to prevent mold.
Final Checklist
- All old caulk and grout replaced or repaired, with no gaps or mold present.
- Every surface cleaned, rinsed, and dried; no soap scum or hard water spots visible.
- New fixtures, hardware, and storage solutions installed and functioning properly.
- Towels, mats, and decor are placed, and the room feels organized and inviting.
FAQ
How long does a weekend bathroom refresh realistically take?
Most families can complete the core steps in about 6-8 hours of focused work, spread over two days. The key is to work methodically: declutter and clean on day one, then do repairs and styling on day two. If you’re also changing fixtures, budget extra time for unexpected issues like stubborn screws.
Can I use regular paint in a bathroom?
No, standard paint can’t handle humidity. Use a semi-gloss or satin paint specifically labeled for bathrooms or kitchens, as it resists moisture, mold, and fading. Always prime first and apply at least two coats, and allow proper curing time before exposing the room to steam.
What’s the best way to keep the bathroom clean after a refresh?
Establish a daily 2-minute routine: wipe the sink, squeegee the shower, and hang towels to dry. Once a week, do a quick sweep of surfaces and wash the bath mat. Use a daily shower spray to cut down on soap scum, and teach kids to put items in their bins—this keeps the clutter from returning.