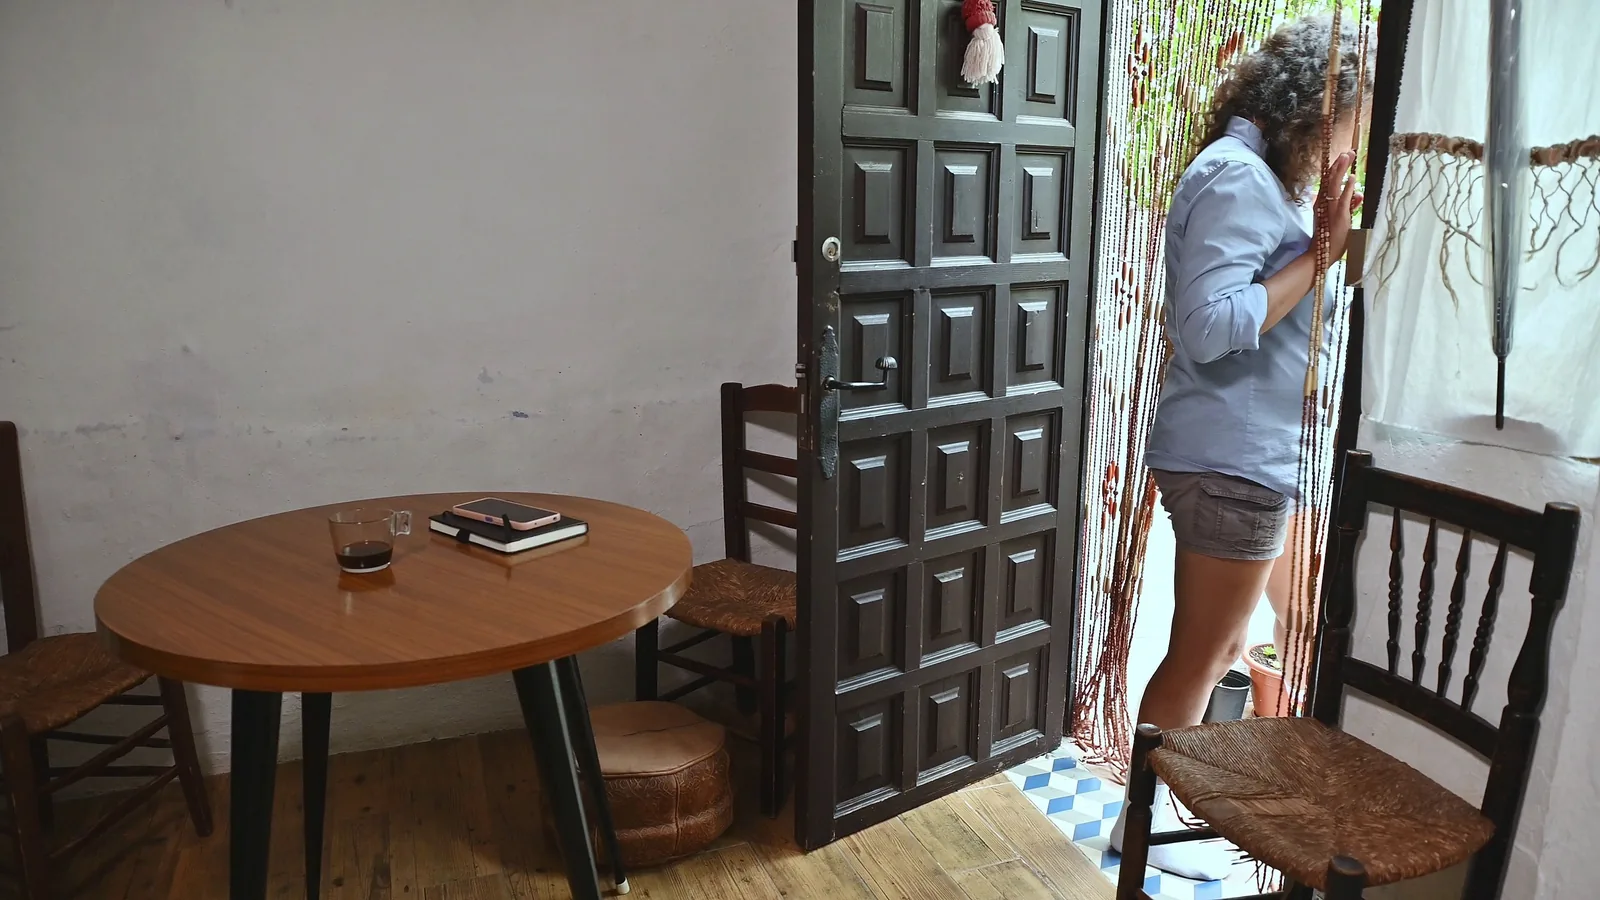
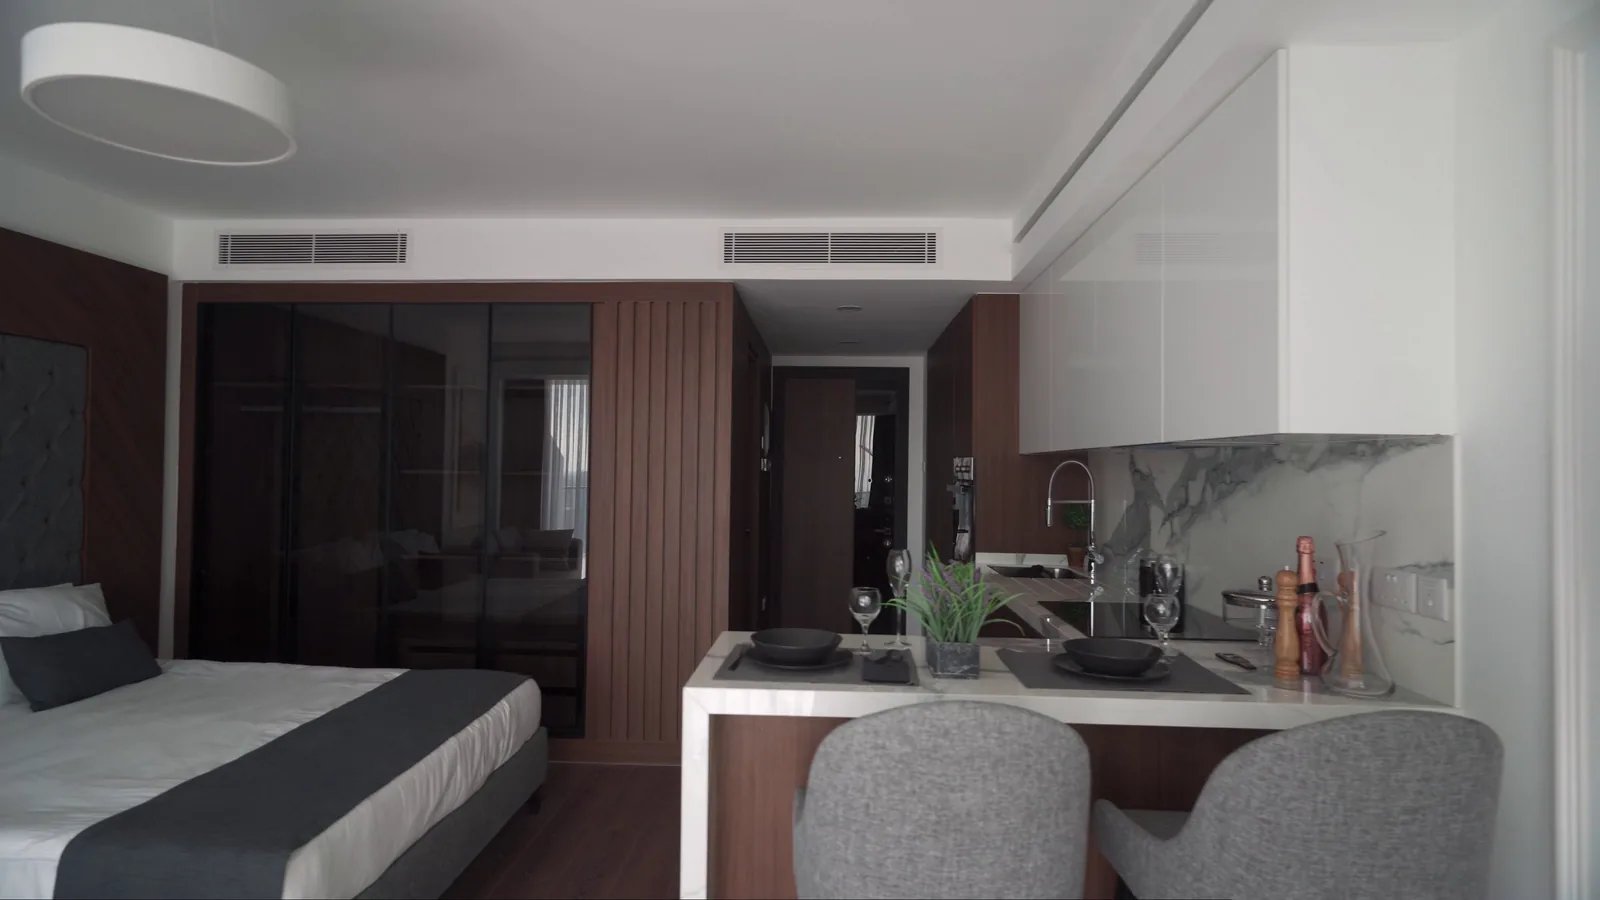
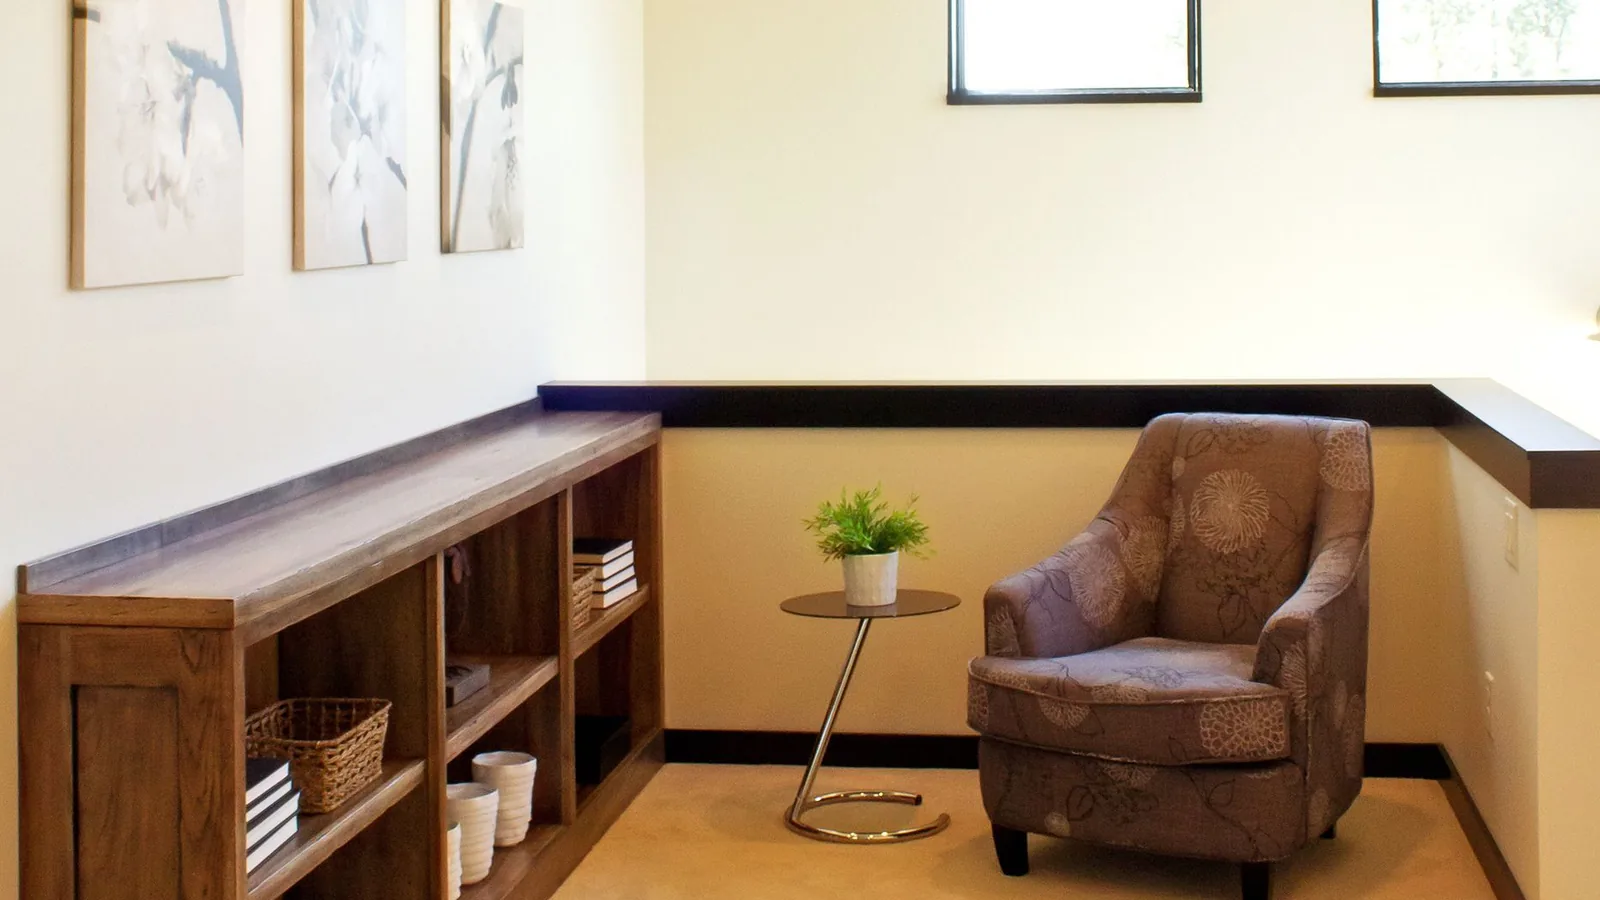
Dining Room Layout Ideas
A practical step-by-step guide to dining room layout ideas, including preparation, instructions, common issues, tips, and next steps.
Dining Room Layout Ideas
This guide provides a comprehensive approach to dining room layout ideas, helping you design a functional and beautiful space. It covers measuring your room, choosing a table shape, arranging seating, creating clear pathways, adding lighting, and styling your dining area. Whether you have a small nook or a large formal room, these tips and strategies will help you create a dining space that is both practical and inviting.
Fast Answer
- Start by measuring your dining room and identifying the main traffic paths, then choose a table shape and size that fits comfortably while leaving at least 36 inches of walkway around it.
- Arrange seating for easy conversation and access, use rugs to define the space, ensure lighting is centered over the table, and add personal décor to make the room warm and welcoming.
Before You Start
- Measure the length and width of your dining room, and note the locations of doors, windows, and any architectural features that may affect furniture placement.
- Determine the primary pathway through the room (e.g., from kitchen to living room) and keep it clear by allowing at least 36 inches of unobstructed space.
- Decide on the main function of the room (everyday meals, entertaining, multipurpose) to guide your table choice and layout priorities.
- Sketch a simple floor plan on graph paper or use an online room planner to test different layouts before moving heavy furniture.
Step-by-Step Instructions
Measure and Assess Your Dining Area
Start by taking precise measurements of your dining area. Use a tape measure to record the length and width of the room, and also note the height of the ceiling. Identify the locations of doors, windows, baseboards, and any architectural features like columns or built-in shelves. These details are crucial because they affect where you can safely place furniture without blocking traffic or natural light. After recording measurements, evaluate the room’s focal point, such as a fireplace or a beautiful window, and consider how your layout can highlight it. This assessment provides a clear baseline for your project and prevents costly mistakes later. Always double-check your measurements, especially the wall lengths, because inaccurate numbers can lead to a table that doesn't fit or leaves zero clearance. It's a small time investment that saves you from the frustration of rearranging heavy furniture.
Choose the Right Table Shape and Size
Your table is the centerpiece of the dining room, so select a shape that complements your room’s dimensions and how you intend to use the space. Rectangular tables are classic and work well in long, narrow rooms, while round tables are ideal for small, square spaces and promote conversation. Oval tables offer a softer look and can fit similar areas as rectangular ones. When sizing, a good rule is to leave at least 36 inches of space between the table's edge and the wall or other furniture, allowing comfortable chair movement. For chairs, ensure you have about 24 inches of width per person, and 12 inches from the table edge to the back of the chair when seated. If you frequently host large gatherings, consider a table with extension leaves. This step is about balancing aesthetics and function; the right table will anchor the room and provide ample seating.
Arrange Seating for Comfort and Flow
Start by placing your table in the center of the room, or in a spot that aligns with the room's focal point and provides visual balance. Then arrange chairs around it, giving each seat at least 24 inches of width. Ensure that you can pull chairs out and sit down without hitting a wall or other furniture; there should be at least 24 inches from the edge of the table to the back of the chair. For traffic flow, maintain at least 36 inches of path between the table and other pieces like a sideboard or buffet. If you have a long rectangular table, consider adding a bench on one side to create a casual feel and allow for flexible seating, or place a bench near a wall for storage. For a circular table, make sure the chairs are evenly spaced. This arrangement promotes easy movement and conversation.
Define Pathways and Circulation Space
Clear, unobstructed pathways are essential in a dining room so people can move freely during meals and when serving. Start by identifying the main routes: from the kitchen door to the table, from the table to the living room, and any path to a bathroom or hallway. Keep these paths free of furniture and ensure they are at least 36 inches wide. In a smaller room, you might need to choose a smaller table or position it closer to one wall to create a wider pathway on the opposite side. Also, consider the clearance needed when a chair is pushed back; place a mark on the floor to visualize this. Avoid placing furniture right in front of doors or high-traffic zones. This thoughtful placement not only prevents accidents but also makes the room feel more open and comfortable.
Layer Lighting for Ambiance and Function
Lighting sets the mood and ensures visibility for meals. The primary fixture should be a pendant or chandelier centered over the dining table, with the bottom of the fixture about 30-36 inches above the tabletop. This height provides task lighting for eating and creates an intimate ambiance, while still allowing for easy conversation. Install a dimmer switch so you can adjust brightness for different occasions, from bright daytime meals to soft evening dinners. Supplement the main light with ambient lighting such as floor lamps or wall sconces to reduce glare and fill in dark corners. In a long room, you might add a buffet lamp for balance. Check that the fixture is proportionate to the table; as a rule, the fixture's diameter should be about one-half to two-thirds the width of the table. Good lighting enhances the whole space.
Add Finishing Touches and Décor
After the furniture arrangement is set, add stylistic layers that make the room feel personal and complete. Place a centerpiece on the table, such as a low vase of flowers, a bowl of fruit, or a decorative tray with candles, but keep it low enough so it doesn't obstruct sightlines across the table. Incorporate a rug underneath the table, ensuring it extends at least 24 inches beyond the table edges on all sides, so chairs remain on the rug when pulled out. Add wall art or a mirror to create a focal point and reflect light, making the space look larger. Use curtains to frame windows and soften the room. Finally, add functional pieces like a sideboard or hutch for storage and serving, but leave enough space for walkways. This finishing stage is where your personality shines through.
Quick Reference
| Situation | Action | Why it helps |
|---|---|---|
| A narrow, rectangular dining room with a door at one end and a window at the other. | Place the table parallel to the long wall, centered between the two ends, and use a bench on one side to save space. | This provides equal clearance at each end for door access and window accessibility, maximizing usable floor space. |
| A small, square dining area that also needs to serve as a workspace sometimes. | Use a round table with foldable leaves, and mount wall-mounted shelves for storage instead of bulky furniture. | A round table supports flexible seating and easy movement, and the foldable design allows you to free up floor space when needed. |
| A dining room that opens into a living area and needs visual separation. | Define the dining zone with a large area rug under the table and place a tall plant or a console table with decorative lighting as a natural divider. | The rug anchors the dining area, while the plant or console creates a subtle boundary without blocking sightlines or traffic flow. |
Common Issues
- Table is too large for the room, making movement awkward and the space feel clogged.: Measure the room and the table, then use a tape or chalk outline to simulate the table with chairs. If clearance is under 36 inches, consider a smaller table or a round/oval shape that takes up less floor space.
- Chairs are too close together, causing discomfort and making it hard to slide in and out.: Ensure at least 24 inches of width per person. If you are tight on space, choose armless chairs that can be tucked in, or use a bench that allows for flexible seating and more legroom.
- Light fixture hangs too high or too low, creating glare or a cave-like feel.: Measure the distance from the bottom of the fixture to the tabletop; it should be 30-36 inches. If too low, raise it (check that you don't bang your head); if too high, lower it to that range, and install a dimmer to control brightness.
Advanced Tips
- Use upholstered chairs at the heads of the table for extra comfort, and choose washable slipcovers for easy maintenance with children or frequent entertaining.
- Incorporate a banquette or built-in bench seating along one wall to maximize seating in a small space while adding a cozy, custom feel.
- Install a sideboard with hidden storage to keep dining essentials, and use the top as a buffet line during parties; add lamps to create warm, indirect lighting.
Final Checklist
- Measure the room and table, and mark painter's tape on the floor to confirm at least 36 inches of clearance around the table and 24 inches of chair pull-back.
- Choose a table shape (round, square, rectangular, oval) that suits the room's proportions and your seating needs, and leave 24 inches of width per seat.
- Test traffic paths by walking from the kitchen door to the table and around the table; ensure each path is at least 36 inches wide and unobstructed.
- Set up lighting: hang a pendant or chandelier 30-36 inches above the table, install a dimmer, and add a floor or wall lamp to fill corners.
FAQ
How much space should I leave between the table and the wall?
The standard clearance is at least 36 inches from the table's edge to the wall or furniture to allow chairs to be pulled out and to let people walk behind seated diners. In tight spaces, 30 inches is the absolute minimum, but you'll lose comfort and may cause bumping. Always test with your own chairs to be sure.
What is the best shape of dining table for a small room?
A round or oval table is often the best for small rooms because it has no sharp corners, can fit into tighter spots, and allows gentle traffic flow. A round table that seats four uses about the same floor space as a small rectangular table but feels more open. If you need extra seating, consider a table with leaves.
How can I make my dining room feel larger?
To visually enlarge a dining room, use a glass or lucite table to reduce visual weight, paint the walls a light color, hang a large mirror to reflect light and depth, and use furniture with legs (instead of skirting) to create a sense of openness. Also, keep the room clutter-free and use vertical storage.